Okay! So this is continued from Gundam Astray Red Frame Kai [Part 1] and I am back from npcc camp with a severe sore throat and minor flu. I drank 17.5 litres of water during the 3 days and I still got a sore throat. Some of my friends even got fever. I drank the most water. I pee the most ^^;
Part 8 : Shoulders and arms (continued)
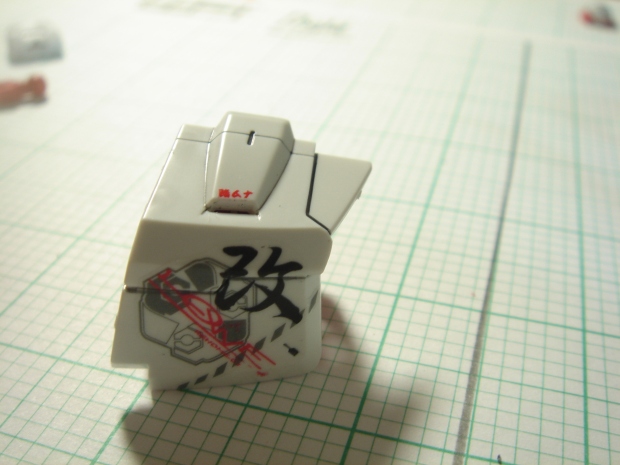
For the arms, it had many many MANY!!! small tinee tiny decals and I thought I was never gona make it—-or do it.
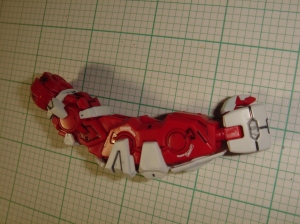
See? 1 arm 4 decals. 2 arm 8 decals
I did it. LOL.
The completed arm.
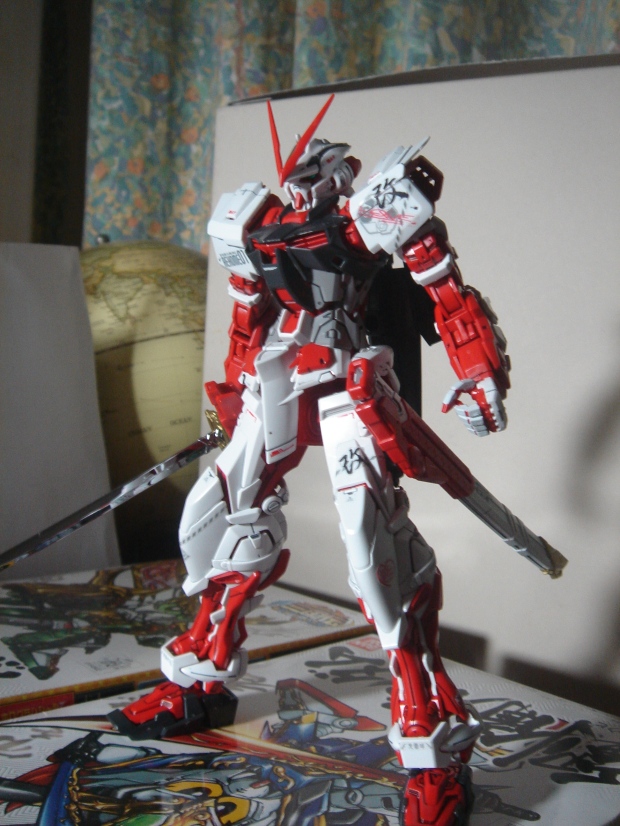
Completed arms on astray with Gebera Straight.
Somehow I think this is the coolest shot of Astray. So magnificent…
Completed : Arms
Part 9 : Tactical Arms II L
NOW this is what the kai is all about!!!
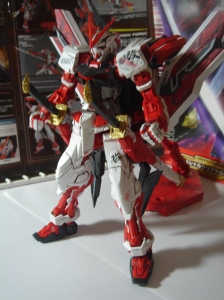
Started off like this. Looks more like a beam rifle at this part to me =P
*pewpewpew*
Completed the blades of the TA
The new blade form xD
V-Form
Flight Form
I think this is the best shot I have ever got XD. So majestic looking, which is also why I set the image so big.
Arrow Form.
This shot is kinda cool too ^^
Okay so I shall stop here. Please await my Post 3!!
Post 3 : Other forms of the TA, actions and many more xD


You might wanna resize your full-size images… they are cut off even on my 22″ monitor unless I click on them
The panel lines are very nicely done and pronounced though a bit dalong-thick on some parts like the Tiger Pierce’s sheath. Great job on being able to apply all those decals as well… especially on the arms. I thought it might looked a bit “messy” with it all on but that amount gives it a good “Junk Guild” look.
Cool!
Thanks Z! You know what, if I were to post my older gundams, the panel lining would have been a hell different! Because one of my friends pointed it out on my 00 Raiser’s head, I decided to visit your tutorial. So thank you for teaching me so much stuff about gunpla! I learnt to use pencil (0.5, although your’s was 0.3) to panel line areas that are tiny from you =D
I really love the decals on your red frame..
and very nice blog you have..:)
Thanks! =D
Your blog is nice too! And especially your skills on modding gundams. They are holy to me!! DC23’s too don’t you think =D
Great stuff. I’m personally not too keen in decals but it seems you’ve done a fine job.
Thanks ^^ The good part is that all those nice ones like those on legs and shoulder armour are actually stickers! so you can just put them on easily, the bad part is that for a person like you the dry transfer decals are freaking small and in awkward places (as in hard to apply)
Nice, i love the decals looks like udone a gd job on it! XD
Thanks! I am adding your blog to my blogroll, mind adding mine too?
Thanks!!
Wow, ya even put on the small red kanji wording…mine ruin as soon as I put it on a part haha…
Link added. Cheers !
Thanks! Well from the past failures I learn my lessons so I keep doing decals even though I know I might fail. Then I became better. Practice makes perfect ^^ Kinda but the older ones are really eyesores >_>
thanks